
If you’ve ever wondered how to install automatic roller blinds, look no further. In this article, we’ll walk you through the step-by-step process. From measuring your windows to programming the automatic operation settings, we’ve got you covered. So grab your tools and let’s get started on transforming your windows with these innovative blinds.
Measuring Your Windows
When installing automatic roller blinds, we begin by measuring our windows using a tape measure. Proper measurements are crucial to ensure that the roller blinds fit perfectly and function smoothly. To start, we select the right roller blind fabric based on our preferences and needs. There are various options available, such as blackout, sunscreen, or light-filtering fabrics. Once we have chosen the fabric, we measure the width and height of the window frame accurately. It is essential to measure both the inside and outside of the frame to determine the best fit. Additionally, we account for any obstructions, such as handles or locks, to ensure that the blinds can be installed without any interference. Taking precise measurements guarantees that the roller blinds will be custom-made to perfectly fit our windows, providing optimal functionality and aesthetic appeal.
Mounting the Roller Blind Brackets
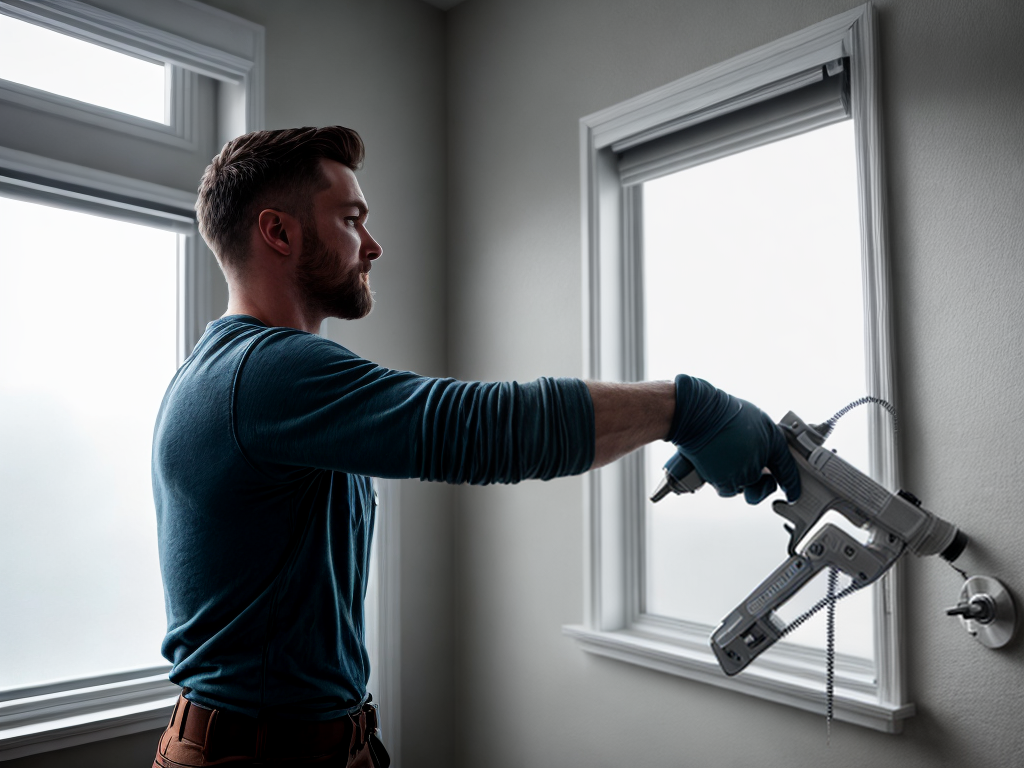
To mount the roller blind brackets, we start by positioning them at the desired height on the window frame. It is crucial to choose the right roller blind brackets to ensure proper installation and functionality. When selecting brackets, consider the weight and size of the roller blind, as well as the material of the window frame. Once the brackets are in position, use a pencil to mark the screw holes. Pre-drill the holes to prevent any damage to the window frame. Next, attach the brackets using screws, making sure they are secure and level. Proper maintenance of roller blind brackets is essential for their longevity. Regularly check for any loose screws and tighten them if necessary. Additionally, clean the brackets using a soft cloth and mild detergent to remove any dirt or dust. By following these steps, you can ensure a successful installation and prolong the lifespan of your roller blind brackets.
Attaching the Roller Blind Fabric
Now let’s attach the roller blind fabric to complete the installation process. Here are the steps to follow:
- Measure the width of the roller blind fabric and cut it to size, ensuring it is slightly wider than the window frame.
- Attach the roller blind cord to the fabric by threading it through the designated holes or loops on the fabric. Make sure to secure the cord tightly to prevent it from coming loose.
- Position the fabric onto the roller tube, aligning the holes or loops with the corresponding brackets on the tube.
- Once aligned, insert the roller tube into the brackets and secure it in place. Ensure that the fabric is evenly distributed across the window.
- Test the roller blind by pulling the cord to ensure smooth operation. Adjust the fabric if necessary.
When choosing the right fabric, consider factors such as light control, privacy, and style. Opt for fabrics that are durable and easy to clean, and select colors or patterns that complement your decor.
Installing the Motor and Control System
First, we will install the motor and control system for the automatic roller blinds. To begin, ensure that the power is switched off before proceeding with the installation. Locate the motor in the desired position and secure it using the provided screws. Next, connect the wiring according to the manufacturer’s wiring instructions. Double-check all connections to ensure they are secure. Once the motor is properly installed, attach the control system to the wall or nearby surface using screws or adhesive. Make sure the control system is within reach and easily accessible. Finally, turn on the power and test the motor and control system to ensure they are functioning correctly. If any issues arise, refer to the troubleshooting tips provided in the manufacturer’s manual.
Programming the Automatic Operation Settings
After installing the motor and control system, we can begin programming the automatic operation settings. Here are three important steps to follow:
- Adjusting Sensitivity: To ensure smooth and precise operation, it is crucial to adjust the sensitivity settings. This can be done using the control panel or remote control. Start by testing the blinds’ response to different sensitivity levels and fine-tune them accordingly.
- Setting Daily Schedules: Take advantage of the automatic operation feature by programming daily schedules. Specify the desired opening and closing times for the blinds to match your routine. This will provide convenience and energy efficiency.
- Troubleshooting Common Issues: If the automatic operation doesn’t work as expected, it’s important to troubleshoot common issues. Check the power supply, and remote control batteries, and ensure the blinds are not obstructed. Consult the manufacturer’s manual for specific troubleshooting instructions.